


Firstly, unlike the basic toolbar which had most frequently used tools in it, the advanced toolbar consists of all the tools that are present in illustrator.
Quite a many, right?
The categories are still the same. However, more tools are added to them.
The advanced tool I use most often is the Shape Builder tool.
It helps you combine two different shapes and create a single shape out of them.

But don’t worry, as mentioned earlier, we will be going through all of these tools in depth but at the right time.
You don’t want to get overwhelmed.
The three important properties to note about toolbars are at the very bottom of it.

The first row consists of 3 drawing modes on the artboard.
Draw Normal
If you have multiple design elements, overlap them but the last element drawn, would appear at the top of the rest.
That’s your draw normal mode.
Draw Behind
Draw behind mode is the opposite of it.
The last element drawn on the artboard will be drawn at the background of all elements.

Certainly, this is useful when you know the order of your design elements.
It can save you some time while designing.
Draw Inside
Draw inside mode helps to create the elements inside any existing element.
Only the object which is inside the existing element, will be shown.
But this option will only be selectable once you have at least one object selected on the artboard.

Next up is the Screen mode.
Oftentimes the workspace looks quite crowded.
If only the artboard needs to be viewed, the screen mode can be changed to view it without any other panel being visible.
Similarly, to revert this change, you can enter ESC and will be taken back to your old workspace.

Last option is to Edit the toolbar. Let’s take a look.
Most importantly, basic and advance toolbars are the key for adobe illustrator toolbar overview.
If you have just started working on illustrator, suggestion is to skip this step.
But if not, you can edit the toolbars as per your need.
Add/Remove Tools
Click on the 3 horizontal dots and the “all tools” panel will open.

If the tool is greyed out, it means it is already present in the toolbar.
If not, you can click on any of the tools to add them in the current toolbar.
Simply, drag the tool you want to add and move it towards the toolbar.
Now, you see two options:
Either a plus sign or a vertical blue line.
Plus sign indicates that the tool you have selected will be grouped with the tool on which the plus sign appears.

Secondly, the vertical blue line indicates that the tool will be placed here once released.

Oops.
Dragged a wrong tool.
Don’t worry. You don’t have to reset the toolbar.
Instead, simply drag it back on the “All tools” panel and release anywhere.
It will take its place.
Re-arrange Tools
So you are done with the tools addition and deletion.
After that, you need to arrange them in an order of most frequently used tools at the top.
It can be easily done by dragging the tool and moving it wherever you want to drop it.

But wait for the vertical blue line to appear.
Or else you might group it with some other tools.
If you mistakenly do group it, simply open the “All tools” panel and drag the tool on it.
And then back on the toolbar where you want to place it.

Reset Toolbar
You have made too many errors.
There is so much manual effort to make things right.
Don’t do it.
Reset it.
Go to the “edit toolbar”.

At the top right corner, there is a menu icon. Click on it.

Hit Reset and all is sorted in the world.
After that, to avoid changing the standard toolbars, it is recommended to create your own toolbar instead.
Let’s figure out how.

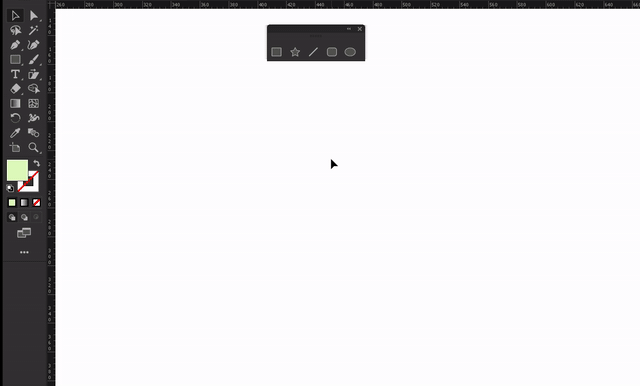
You see the New toolbar option here. Click on it.
Give it a name. If you have read the illustrator workspace creation blog, you know it already.

In short, this is your new toolbar.
Pretty amazing right? LOL.
Let’s work on it.
Click on the “Edit toolbar”. Start dragging.
We can arrange them later.
Three things to know:
You can either drag one tool.

You can drag another tool on top of it to group them.

Or if you know which tools you need to group, you can select Shift and select them all.
Now drag and drop. They will be grouped.

Need to send them all back to “all tools”?
Select shift and drag them on “all tools”.
All will be removed.
Further, once you have your toolbar.
Hold the old toolbar from the top and drag it out.

Now drag your toolbar until it snaps to the left edge of the illustrator.

And that’s a wrap for adobe illustrator toolbar overview.